- ► Discord: https://discord.gg/zwCDKnAKSw
- ► Mail: ognitorenks@gmail.com
- ► Site: https://ognitorenks.blospot.com
- Supported languages = English │ Turkish
- Multiboot Manager hakkında (Türkçe): https://ognitorenks.blogspot.com/2024/04/coklu-onyukleme-yoneticisi-multiboot.html
All rights of the work belong to Hüseyin UZUNYAYLA. It is forbidden to develop, copy, change the content of the work. If you want to share the application on different platforms, you need to get permission from me.
- Multiboot manager works on Windows 10/11 systems.
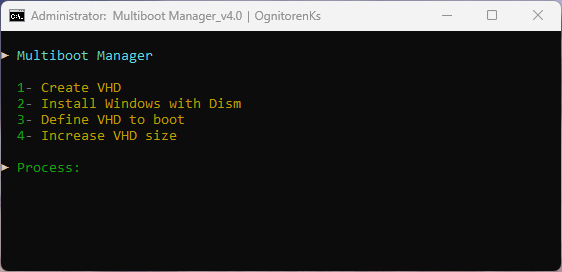
1- Create VHD
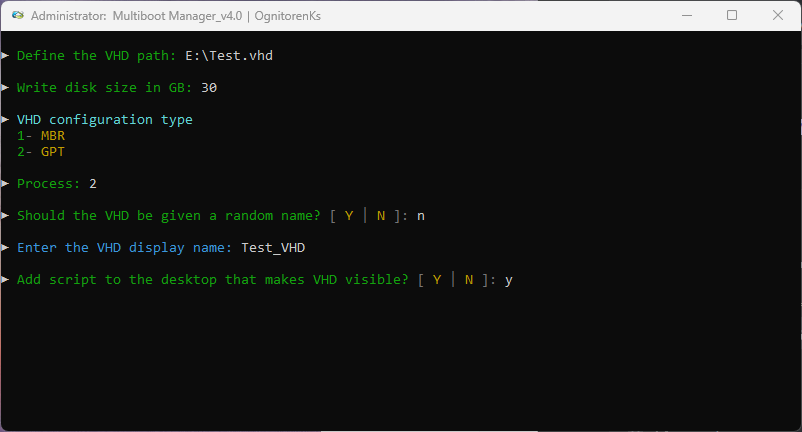
- This section allows you to create a VHD (Virtual Hard Disk).
- In the "Define the VHD Path:" section you need to type the location and name where you will create the VHD. You don't have to type the extension, it will complete it automatically. It is also fine if you write it.
- "Write disk size in GB" will ask for the size of the VHD in this section. Write the size you want in GB. My advice is not to go below 30 GB.
- "VHD configuration type" section will ask for the disk configuration type. You need to select "GPT" if there is UEFI support, or "MBR" otherwise.
- "Should the VHD be given a random name?" if you press 'N' in this section you can enter the VHD visible name in the 'This computer' section.
- "Add script to the desktop that makes VHD visible?" To access VHD on the main system, you need to make it visible with Diskpart. You need to do this every time you boot the system. If you want to do this with one click, you can add a script to the desktop and do it with one click.
- It will then create the VHD and return to the main menu.
2- Windows installation
- In this section you can quickly install Windows by inserting the ISO you have into the system or extracting it to any folder and defining its path. You can give the path to the folder path of the image or directly to the install.wim/esd file.

- After defining the image, it will take you to a menu that gives detailed information about the versions it contains. In this section, you need to dial the Index number of whichever version you want to install in the image.
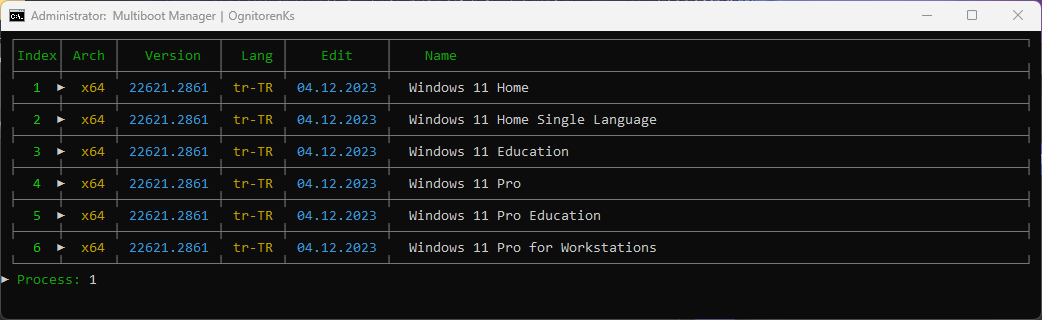
- After selecting the index number of the Windows to be installed, it will assign you to the disk selection menu to select the VHD. When creating a VHD disk, I define a VHD name and a random number. In the screenshot below, our VHD is assigned to the letter "J" and its name is "VHD-17438". After identifying our VHD from here, we dial the number to the left of it. Do not dial a letter.

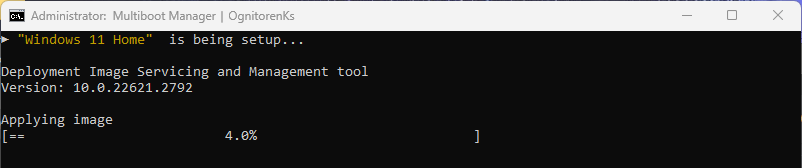
- After making a selection, it will start installing Windows on the VHD with Dism. When it is finished, it will return you to the main menu. You need to restart the system to complete the system installation. Windows will complete the remaining operations and transfer you to the language selection and account creation menus.
3- Redefine VHD
- If you back up the VHD file and do a clean install on your main system. Then you can continue to use your multiboot system by defining the VHD from this section.
- After entering this section, you need to define the path to the VHD file. After the definition process, it makes the VHD file visible and sets it as the system to be opened by default. If you reboot the system, VHD will start from the system on disk.

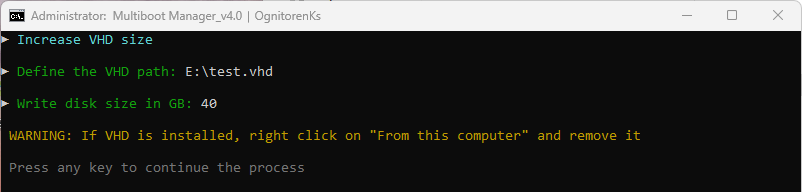
4- Increase VHD size
- WARNING: Before doing anything in this section, you must right-click on the attached VHD from "This computer" and remove it
- WARNING: In this section you can only upgrade the VHD size
- "Define the VHD Path:" You need to enter the folder path of the VHD here
- "Write disk size in GB" You need to enter the new size of the VHD in GB