How To Compile ENG Builder2
-
1a. Download here: (64-bit is recommended)
64-bit
Windows 10+:
https://github.com/msys2/msys2-installer/releases/download/2024-07-27/msys2-x86_64-20240727.exe
Windows 7-8.1:
https://github.com/msys2/msys2-installer/releases/download/2024-07-27/msys2-base-x86_64-20240727.sfx.exe32-bit
https://github.com/msys2/msys2-installer/releases/download/2020-05-17/msys2-i686-20200517.exe -
1b. If this link is dead, go to https://github.com/msys2/msys2-installer/releases/latest and click on the link that ends in .exe (.sfx.exe on Windows 7-)
-
1c. Run the installer
-
1d. Uncheck "Run msys" after it's finished installing
- 2a. Download here: https://sm64pc.info/sm64pcbuilder2/
- 2b. Open the downloaded folder, drag the .exe into a newly created folder (we'll call it sm64pcbuilder2 in this guide)
- 3a. Open the sm64pcBuilder2.exe
- 3b. (If msys is not in the root of a drive, eg. C, D, etc. and/or the folder was renamed from msys64/msys32 to something else)
Select your msys folder
- 4a. On the Source page: Click Render96ex branch: tester_rt64alpha for Odyssey Mario's Moveset or tester for new sound system
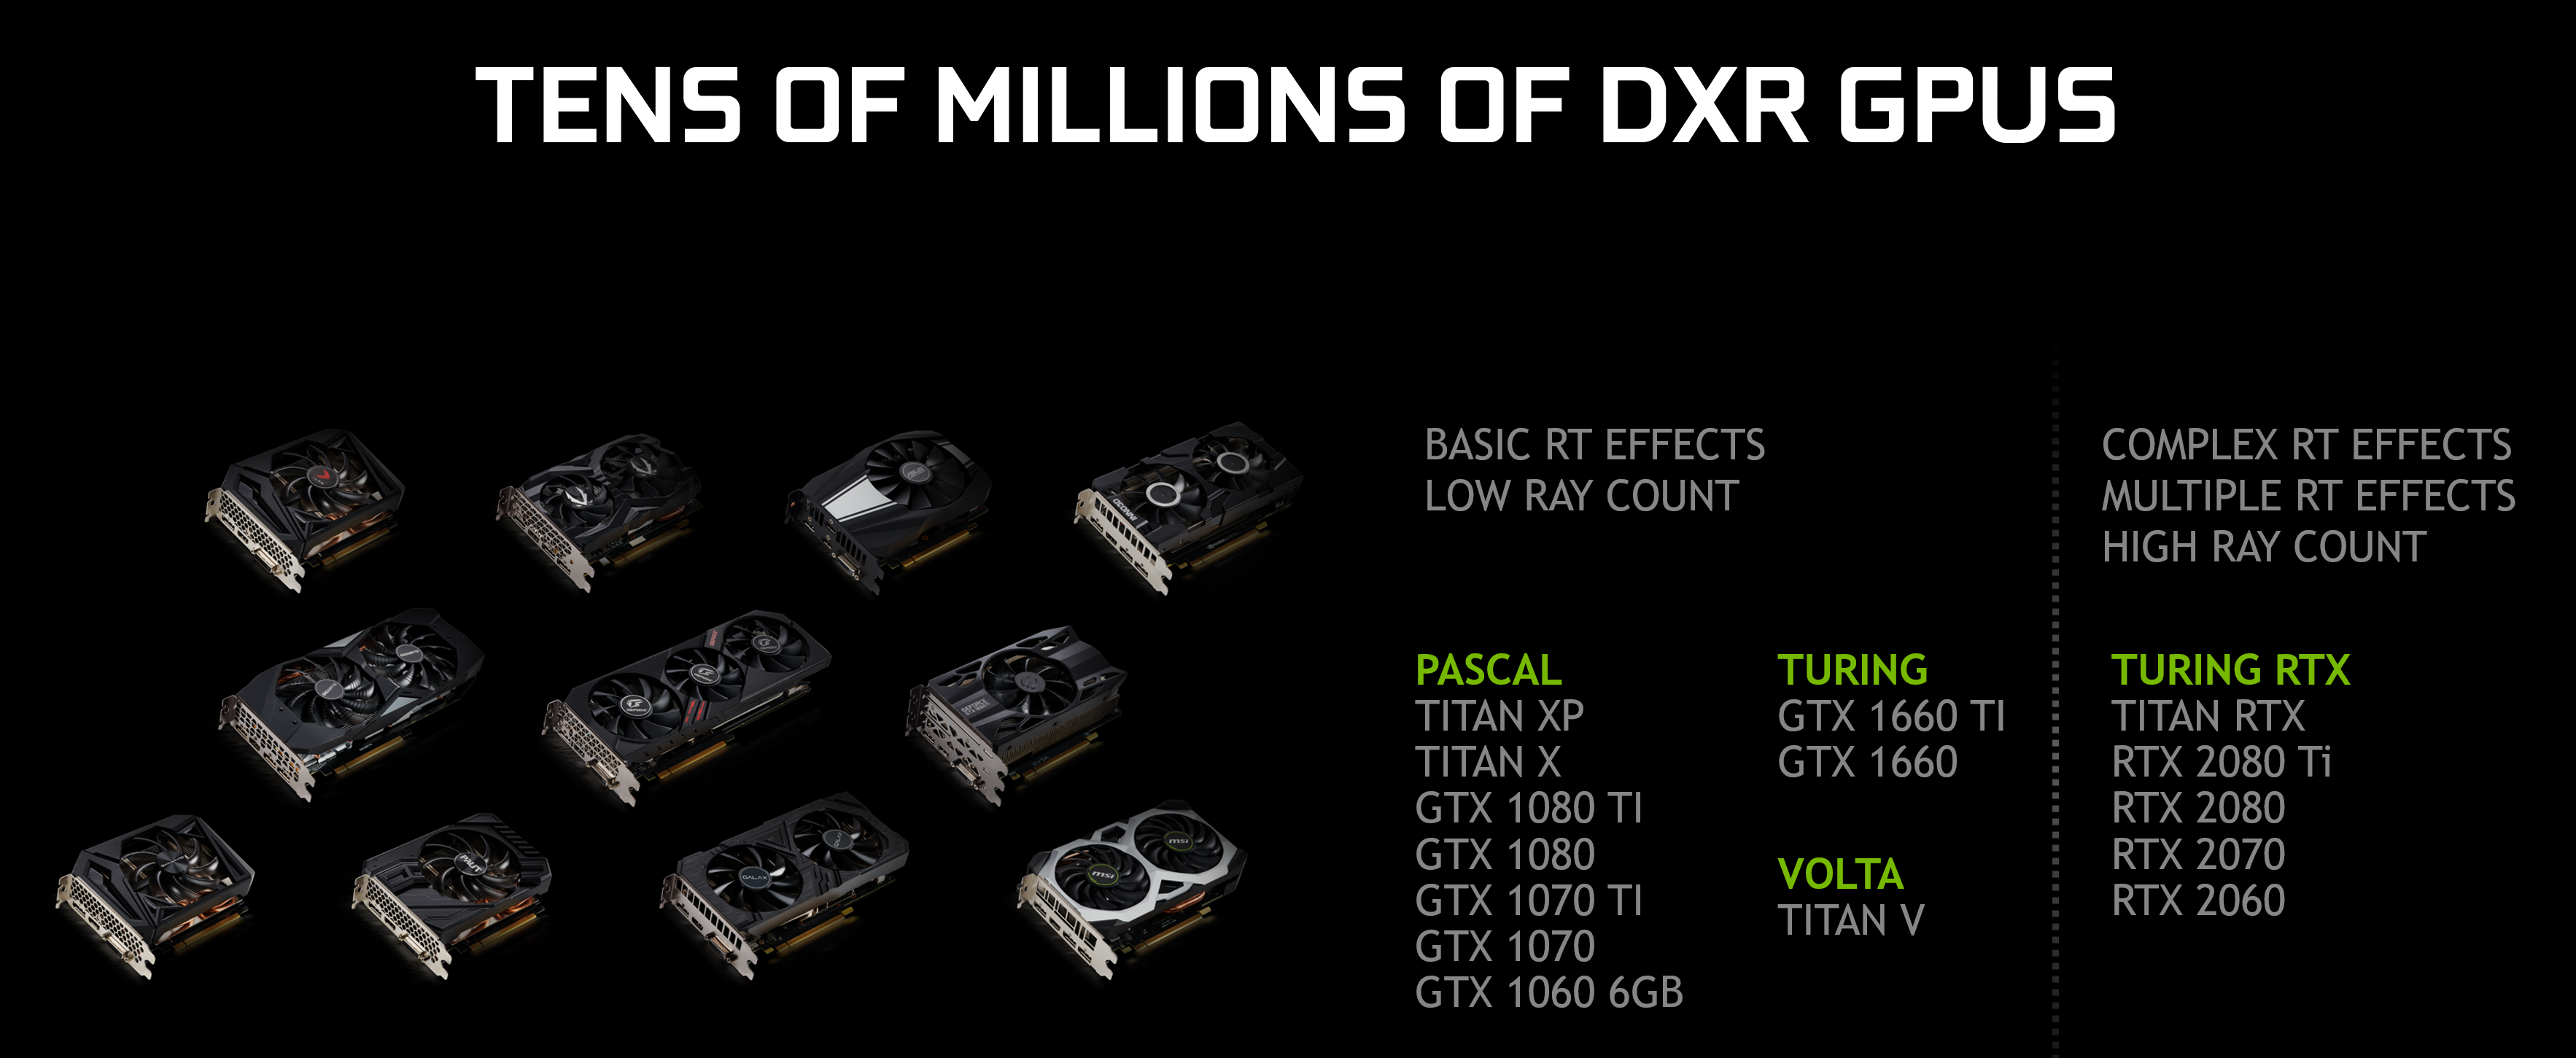
- 4b. On the Savable Options page: SELECT RT64 if your graphics card is capable of ray tracing.
RT64 render API minimum requirements:
NVIDIA GTX 1060 6GB/AMD Radeon RX 6700 XT, 64-bit Windows 10, Version 2004CHECK "Download Only Latest Changes": "Repo" to speed up repo download and save some space, and change any other options you want on this page
 CHECK "Download Only Latest Changes": "Repo" to speed up repo download and save some space, and change any other options you want on this page
- It should be a .z64, .n64 or .v64
- If you have an .exe instead of an .z64 / .n64 / .v64 delete it, run an antivirus scan if you tried to run it before
- If you have a .n64 or .v64, Builder2 converts those to .z64 when you select them, so you don't need to worry about that anymore
- If you get an error about the baserom having the wrong hash, that means the ROM you selected is extended or a romhack. Ensure you're providing an unmodified ROM
- 5a. Hit Download
- 5b. Select your ROM (Builder2 will rename it for you when you select it)
Don't worry if the ROM prompt doesn't appear. If that's the case your ROM is set up correctly.
- 6a. Navigate to the "Models", "Packs" page of the builder, check Render96, and click "Install DynOS Packs" (no recompile needed)
- 6b. Go to the "Levels" page, check:
- Render96 Bob-omb Battlefield
- Render96 Bowser 1
- Render96 Bowser 2
- Render96 Cool, Cool Mountain
- Render96 Jolly Roger Bay
- Render96 Whomp's Fortress
- 6c. Go to the "Patches" page, here you can pick patches for your game
- 6d. Go to the "Textures" page, select Render96 HD or Render96 HD B-side and click Install/Update (no recompile needed)
- 6e. On the "Overview" page, check if you're satisfied with your current settings
- 6f. Hit Compile, and that should be it
By default, a desktop shortcut will be created and the build folder should pop up from your Render96ex-tester_rt64alpha repo folder. This should contain the game .exe (sm64.us.f3dex2e) and all of the files needed. Make sure you keep these files with the sm64.us.f3dex2e .exe file if you want to move them! You may also click the Launch button next to the Compile button to launch the game.
Press the Pause button, press the crouch button and go to the "MODEL PACKS" option, enable:
- "Render96 DynOs v3.2" or "Render96 DynOs v3.0 rtx" if your render API is RT64
- "Render96 Mario v3.2"
- "Render96 Luigi v3.2"
- "Render96 Wario v3.2"
Press the camera switch button, select GAME, and enable "Disable Billboards". Press the punch button, select DISPLAY, and enable "60 Fps" (both optional).
Voila, the build should be done. Enjoy!
- Lead Render96 Coder
- Worked on: translations, switch port, image refactoring, luigi code
- Leads Render96 Project
- Current Lead Render96 Coder
- Worked on: luigi code, blargg, motos, audio rework, maintains support on multiple codebases.
- Worked on: sm64ex which was the original base of this repo
- Worked on: builder2, bug fixes
- Worked on: Dynos, Smo movement
- Worked on: Cheaterex
- Worked on: increased delay on star select, delay on credits, leave ending, angry mom penguin, draw distance settings
- Worked on: translation code, bug fixes
- Worked on: translation code, bug fixes
- Worked on: guides, help faq, translations