SDKを手動で追加する
Xcode 上で対象プロジェクトに "NendAd.xcframework" と "NendAdResource.bundle" をドラッグ&ドロップします。

ダイアログの表示で必要に応じて任意の設定(※)を選び「Finish」をクリックします。

追加が完了すると Xcode のファイルリストに右図のように表示されます。
※ 既にプロジェクトフォルダ配下に "NendAd.xcframework" 及び "NendAdResource.bundle" を移動させたものに対して参照設定を追加する場合には、ファイルをコピーする必要がないため、“Copy items if needed” にチェックを入れる必要はありません。
nendSDK の利用には、
- AdSupport.framework
- Security.framework
- ImageIO.framework
- AVFoundation.framework
- CoreMedia.framework
- SystemConfiguration.framework
- WebKit.framework
- AVKit.framework
- StoreKit.framework
- libxml2.tbd
の追加が必要です。
以下のフレームワークを追加することで、広告配信により詳細な情報を使用することが可能となります。
- AppTrackingTransparency.framework
左側のプロジェクトナビゲーターから、プロジェクトをクリックして
TARGETS>General>Link Frameworks With Libraries 項目を開きます。

「+」をクリックし 追加できるライブラリの一覧を開いて 下記の Framework と Library を追加してください。
- AdSupport.framework
- Security.framework
- ImageIO.framework
- AVFoundation.framework
- CoreMedia.framework
- SystemConfiguration.framework
- WebKit.framework
- AVKit.framework
- StoreKit.framework
- libxml2.tbd
左側のプロジェクトナビゲーターから、プロジェクトをクリックして TARGETS>Build Setting>Other Linker Flags 項目を開き、-ObjCを追加します。

任意のswift(またはObjective-C)ファイルに以下のimport文を記述し、一旦ビルド (Clean Build Folder)します。
エラーが発生せずにビルドが成功すれば、正常に SDK が追加できています。
Swift
import NendAd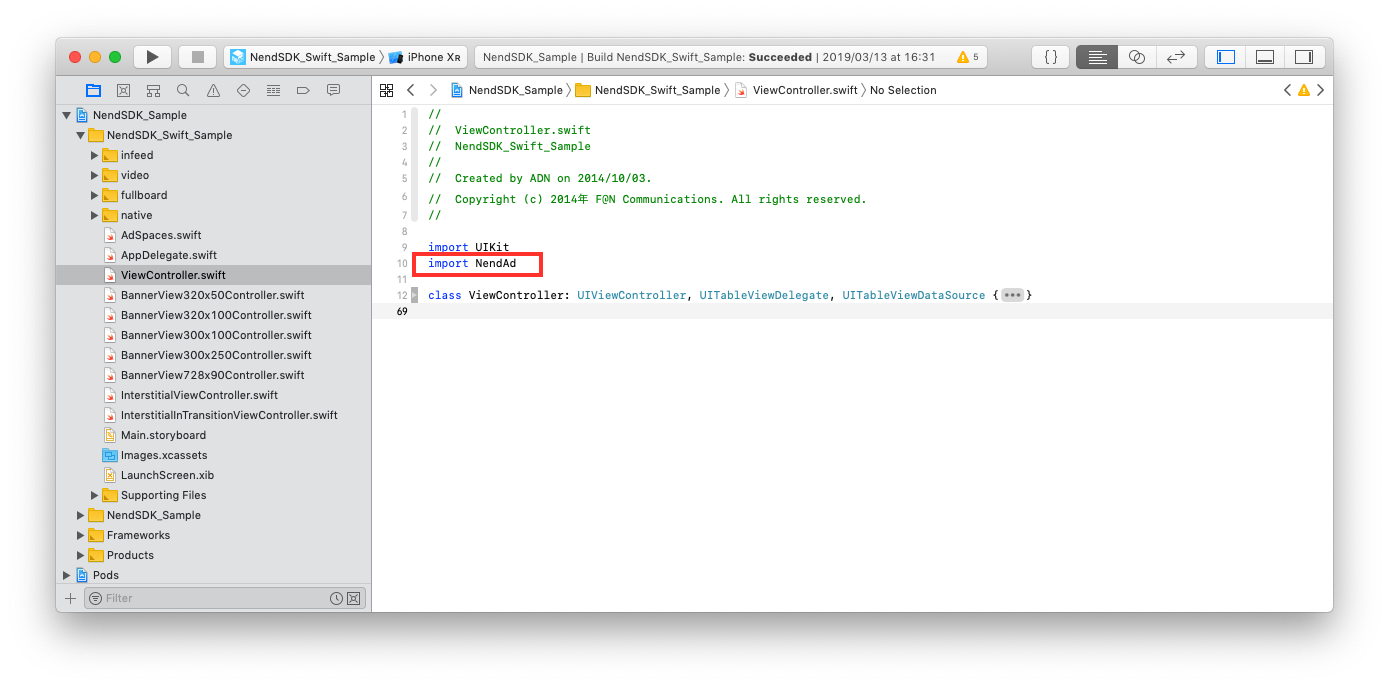
Objective-C
@import NendAd;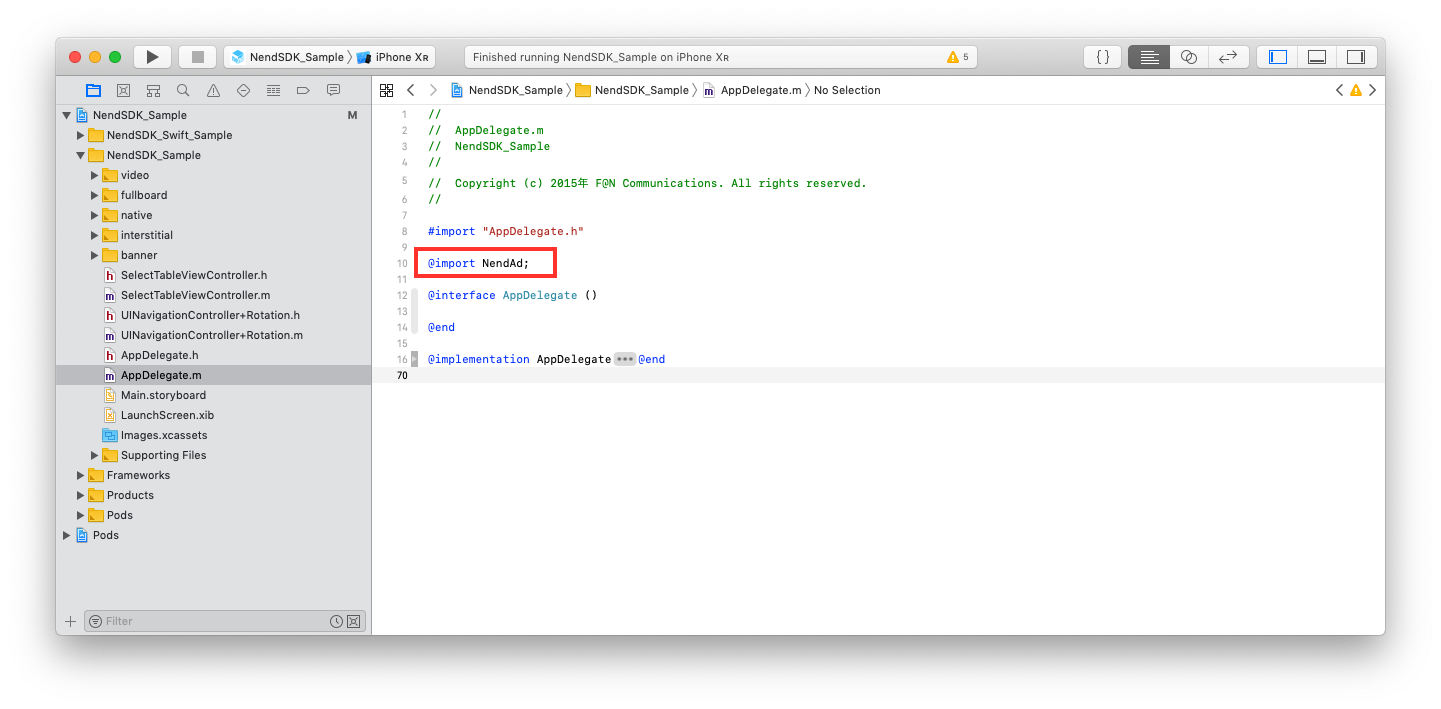
※この時点でエラーが発生する場合は、Link Frameworks With Libraries の内容を再度確認してください。